The challenges occur already at the beginning of the cryo-EM experiment, during the sample preparation phase. In this blog, we describe the pros and cons of two traditional ways of sample preparation, and how they inspired our team to combine the best of both approaches and design a sample preparation station that is safe for a sample and for a user.
From the moment a sample for cryo electron microscopy (cryo-EM) experiment is cryogenically frozen and the "cryo" part starts, the next steps in the workflow carry two common challenges: keeping the sample vitrified and free of non-vitreous ice. Sample preparation is the first step in this workflow. In this phase, grids containing the sample are clipped and loaded into a shuttle, all while the sample, as well as several elements of a preparation station, are immersed in liquid nitrogen. But even if the sample is not exposed to the water molecules in the air directly, it still can be contaminated with ice crystals floating in liquid nitrogen. These crystals are formed for example on the tools used to handle the sample. When operated in and out of liquid nitrogen, they act as cold traps and attract water molecules from the environment. The molecules form non-vitreous ice that can be released into liquid nitrogen and attach to the sample. It is therefore a good practice to heat up tools before sample preparation to evaporate water from their surface. Another good habit is to wear a face mask to minimize adding moisture from one’s breath to the environment. Still, if the humidity in the sample preparation room is on a level comfortable and healthy to a researcher, the problem of ice contamination will persist. As a countermeasure, some cryo-EM labs use low-humidity rooms, where the humidity is somewhat decreased. Installation and maintenance of such rooms is however very costly, making them unattainable for many research groups. Not to mention that researchers working in this low-humidity environment can experience for example respiratory discomfort. Moreover, "low-humidity" in these rooms is 20% at the least, so there are still enough water molecules in the air to cause ice contamination in cryo-EM samples.
Instead of a low-humidity room, some labs use glove boxes, which provide a compact lab material handling space and at least some protection to researchers during their work with liquid nitrogen. Yet, glove boxes are by no means designed to reduce air humidity.
Summarizing, so far glove boxes and low-humidity rooms have been used in an effort to reduce ice contamination during cryo-EM sample preparation. Each of these approaches has some advantages and serious drawbacks. But what if one would combine the best features of the two methods into one design, assuring an anhydrous environment, a compact and mobile workspace, protection of the sample and the user, and all these at an affordable price?
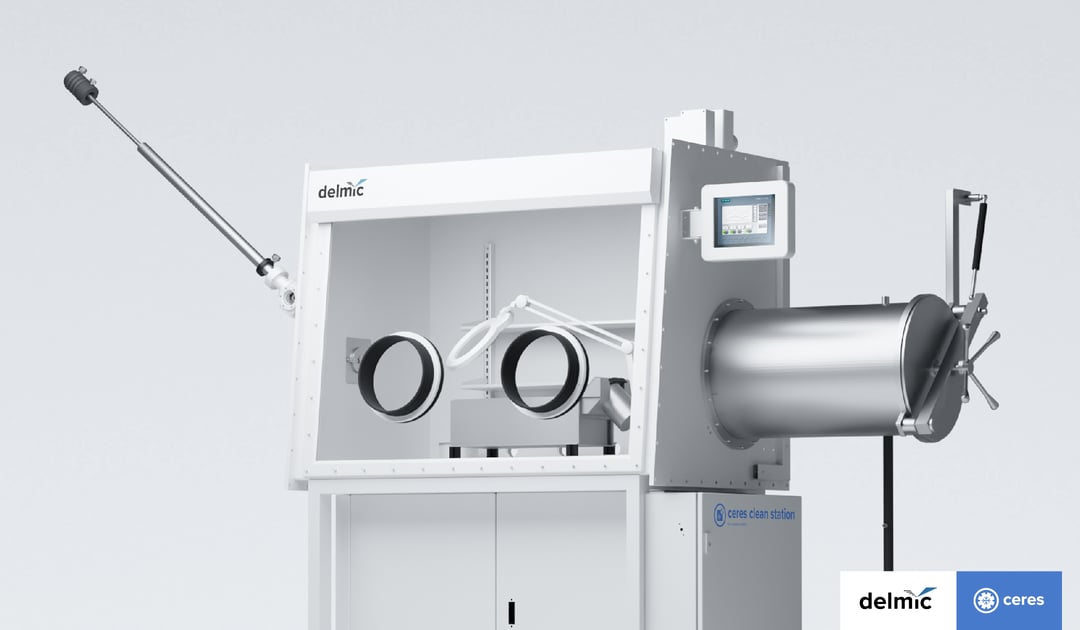
That was the challenge that our team at Delmic has taken upon, designing from ground-up a sample preparation workstation that fulfills the needs of the cryogenic microscopy community. As the result of this collaborative work between engineers, scientists, technicians, and designers, the CERES Clean Station was born.
The workflow for sample preparation using the CERES Clean Station is straightforward. First, you import your sample into the airtight Clean Station via an airlock. On an integrated display touchscreen you can see and control the process of replacing the ambient air with nitrogen gas inside the airlock. When ready, your sample will be surrounded by very dry nitrogen gas, with less than 1 ppm of water. The same environment is already waiting for the sample inside the Clean Station. Now the airlock can be opened into the Clean Station space and you can easily transfer your sample into the preparation table filled with liquid nitrogen.
You will continue with your sample preparation inside the Clean Station using your preferred latex or nitrile gloves so you have the full agility for the delicate work. To make the handling of the tiny, fragile samples easier on your eyes, we equipped the Clean Station with an LED illuminated magnification arm.
When the sample is loaded and ready for milling, you can quickly and safely remove it from the Clean Station using Delmic's CERES Vitri-Lock high vacuum transfer device. After milling, the sample can be transported back into the Clean Station, again using Vitri-Lock. Once inside the Clean Station, the sample can be moved from the shuttle into an autoloader cassette. You can then use a common transfer device, such as NanoCab, to move the samples to a TEM cassette loading zone. To take the loaded NanoCab out of the Clean Station, you will simply use the airlock system.
You can think of the CERES Clean Station as a miniature super low-humidity room. With this artful design, your success rate to safely prepare a clean, usable cryo sample reaches 90%.
Would you like to know how to get more frost-free samples for cryo-ET? Check our CERES Clean Station workflow. And if you have further questions, we are here to help!
References
[1] Liu et al., Structural identification of a hotspot on CFTR for potentiation Science (2019)
[2] Ke et al., Structures and distributions of SARS-CoV-2 spike proteins on intact virions Nature (2020)
[3] Tacke et al., A streamlined workflow for automated cryo focused ion beam milling Journal of Structural Biology (2021)
This work is supported by the European SME2 grant № 879673 - Cryo-SECOM Workflow.
.png)


